The hull is double planked in, what I assumed, is Spanish Cedar (inner) and some form of South American Mahogany (outer). Fasteners are bronze screws into heavy frames (unknown species). Eventually, I sent samples of the keel timber, frames, single and double planks to the Dept. of Forestry for identification (they will identify up to 5 samples per year free of charge!). The keel, frames, and single planking are Amendoim, a South American hardwood. Amendoim is harder, heavier, with higher shrinkage than Honduras Mahogany, but is otherwise a suitable substitute. The double planking is Spanish Cedar for both inner and outer planks.
My initial assessment of the hull turned out to be overly optimistic. After the paint was removed, it was clear that several of the single planks were severely checked and needed to be repaired or replaced. The double planking, keel plank, and deadwood all needed work. This document describes the steps taken to fix these problems.
Keel and Deadwood
One of the first hull projects was to remove the copper sheathing that protects the underside of the deadwood.
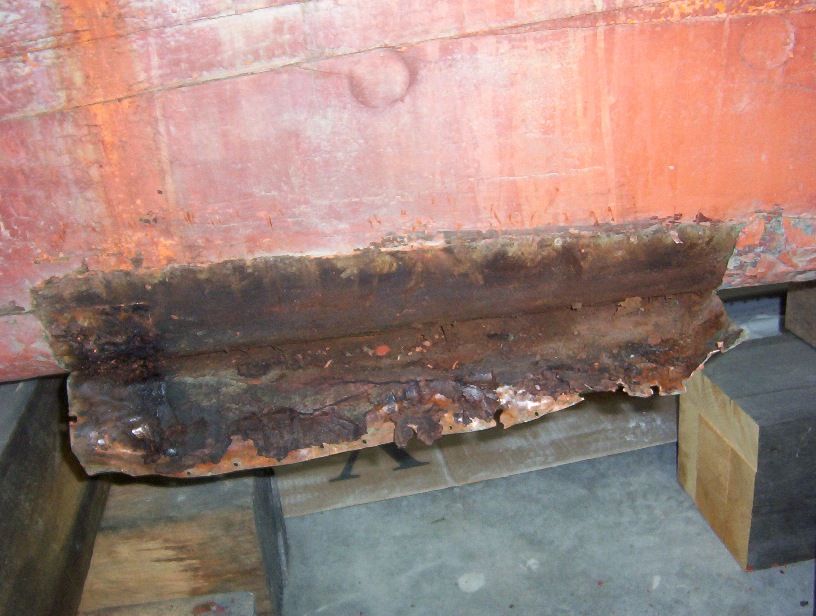
The sheathing was fastened to the deadwood with numerous copper tacks.
Removal shows the residual tar between copper and wood.
The original plan was to re-tar and apply new copper, but I ultimately chose to replace the deadwood with an epoxy-coated laminate, which should not require this protection.
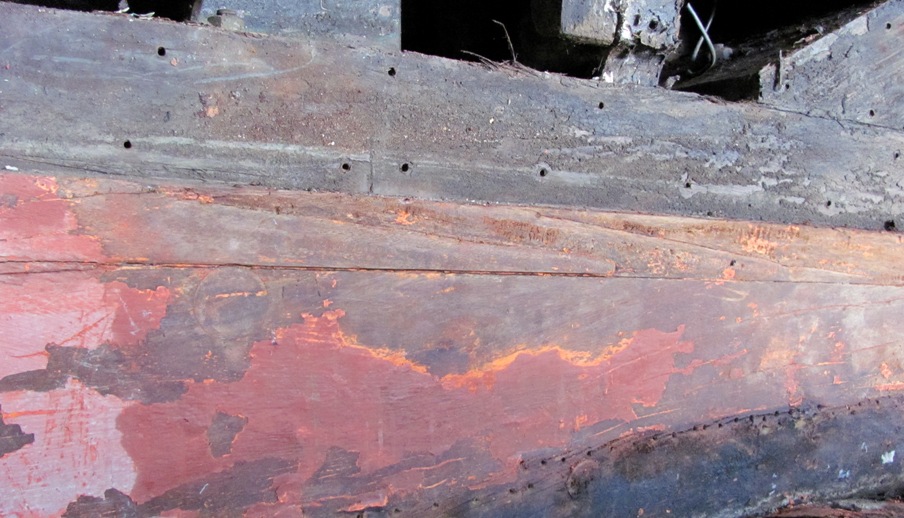
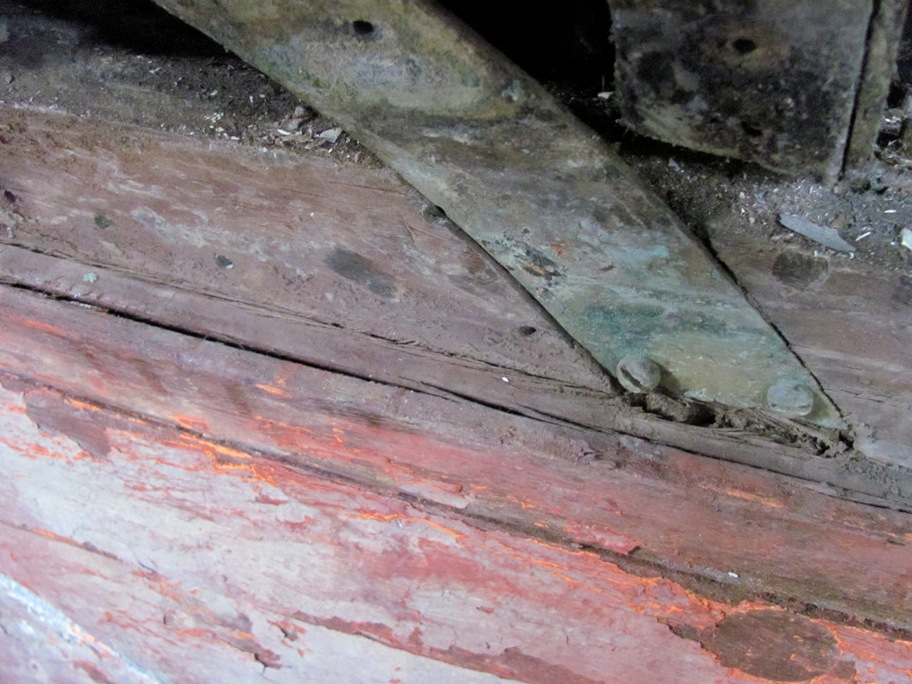
Note that rather large (1.5″) bungs that appear in the picture above.
They’re located in the deadwood just below the keel plank.
After removing some planking, it appears that these bungs cover holes that were used to access the nuts to bolts fastening the bronze floors to the keel. In other areas of the boat, the floors are fastened to the keel plank with lag bolts, but in the area of the centerboard trunk, the floors are through bolted.

The pic above is another view of the deadwood with sheathing removed. This picture reveals an odd splice or scarf in the keel plank (approx. in the middle of the picture). It’s almost as if someone repaired the keel with an insert. This only appears on the port side.
Here are some additional pics of this splice.
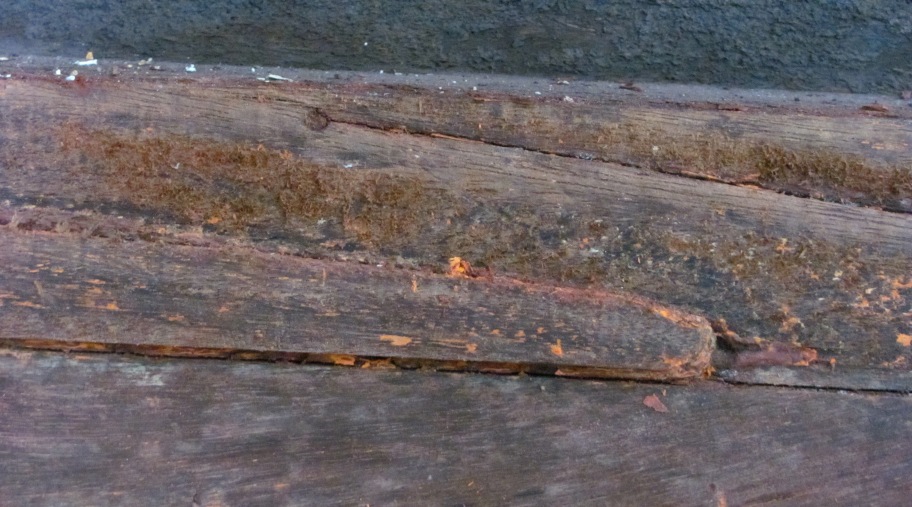
It turns out that this was not a splice but a large check in the keel plank.
Planking
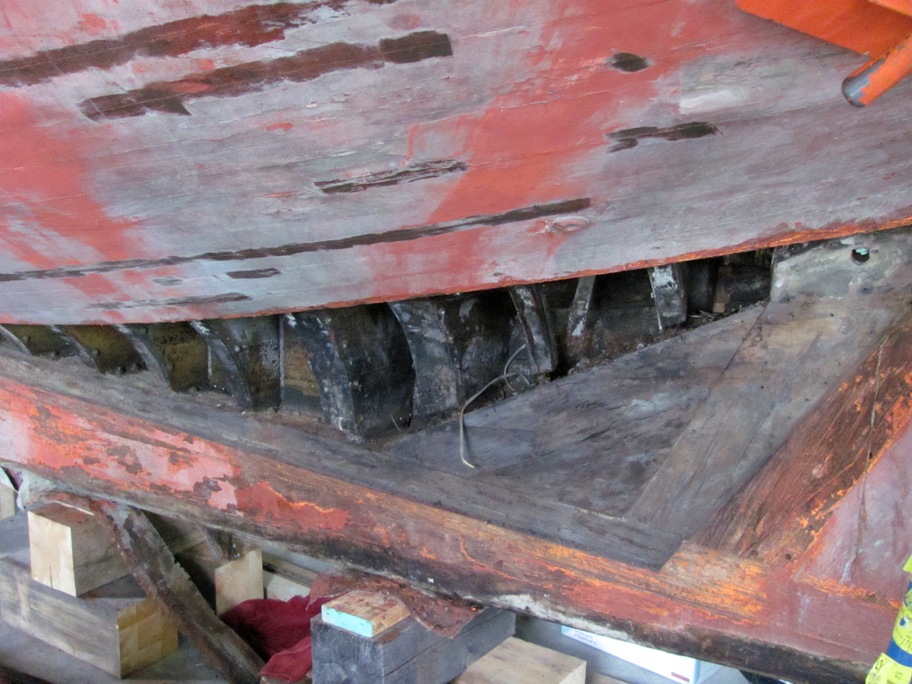
The planking on the port side in the area of the garboard was suspect, so I decided to remove a few planks. Here are the first five – the last one is 21 ft. long!

Here we see the opening in the hull resulting from the removal of the five planks.
Note that on this boat, there is no single garboard plank. Instead, the lower
planks enter the keel rabbet at an angle, so it takes about five planks to fill the rabbet.
Note also that although this boat is double planked, the first eight planks are singles with tight fitted seams – no caulking except at the ends. The problem is that the first four planks are damaged where they enter the rabbet.
Even the rabbet itself is damaged, as shown in the pics below. At first, I thought that this might be due to electrolysis; however, I showed this to a wood expect, and he thinks that it’s a compression failure. Evidently, when the planking swelled, the cells were crushed. When the boat was then allowed to dry out excessively, the resulting stress across the grain caused the wood to split.

So the plan is to cut out the damaged section of the keel rabbet and epoxy in an insert – a sort of Dutchman repair. For this, I will need access to the bottom of the keel plank.
The planks …? Well I’ll have to either repair them or replace them.
The damage to the lower planks suggests that tight seam construction using hardwood planking having significant shrinkage is not a good idea. When the wood swells, the planks experience severe compressive stresses. If the boat is kept from drying out, the wood might survive these stresses; however, multiple wet/dry cycles may well lead to failure. In repairing/replacing the single planks I opted for Carvel planking, with lightly caulked seams. In that way, only the inner 1/4 of the plank edges are in contact.
3/29/2010:
Given the problem with the keel-plank rabbet, it seems that a close inspection of the keel is advisable. I also want to inspect the centerboard pivot pin and lifting mechanism and the ballast keel bolts. To inspect the board, it would be best to remove it, but at this point it’s not clear what’s involved. So some exploratory work is required. You can read about it here (Centerboard Preliminary).
Subsequently, it was determined that removing the board requires raising the boat and separating the bronze centerboard trunk (with integral bronze floors) from the keel plank. Details can be found here (Centerboard Removal).
At this point I realized that the centerboard trunk should be removed to provide access to the to the top of the keel, allowing me to pull the keel bolts. Removing the keel bolts should free the deadwood and the ballast keel from the keel plank. Alas, this was an oversimplification and a real challenge. Details are described under (Deadwood Removal and Ballast Keel Removal)
With the keel plank accessible, I’m able to make the necessary keel-plank repairs (Keel Repair), replace the deadwood, and re-install the ballast keel (Installing Deadwood and Ballast).